You don’t need a studio, a capture card, or a second monitor to start streaming games online. You need one platform, one game, and about ninety minutes tonight. That’s it. The gear lists and platform debates can wait until after your first broadcast, because the only way to learn what your setup actually needs is to go live and see what breaks.
So here’s the first step, and it’s deliberately small: pick a single platform and run a private test stream this evening. Not a public one. A private one, where nobody is watching and nothing can go wrong. That test stream will teach you more about how to start streaming games online than a week of reading comparison articles.
Pick One Platform and Stop Comparing
Every platform has strengths, and every platform has quirks. Beginners lose weeks to this decision. Don’t. Choose based on one question: where do you already watch other people play?
If you spend your evenings on a large video platform watching gaming content, stream there. If you prefer a chat-driven community platform built around live interaction, stream there instead. The audience you already understand is the audience you can speak to. Familiarity beats theoretical reach every time.
Set up your account, verify your email, and enable two-factor authentication. Then open your broadcast settings and find the stream key. That long string of characters is the password your broadcasting software uses to send video to your channel. Copy it somewhere safe, because you’ll paste it in the next step.
One platform. One account. That’s the whole decision for now. You can mirror to a second platform later, once you know you enjoy doing this at all.
Software Settings That Won’t Melt Your PC
You have two realistic options: the broadcasting software built into your console, or a free desktop encoder. Console streaming is genuinely the fastest path. On modern consoles you press a button, sign in, and you’re live within minutes. If that’s your situation, do that and skip ahead to audio.
On PC, install a free encoder and run its automatic configuration wizard. It will test your hardware and pick sensible defaults. Accept them. Beginners who manually crank bitrate to the maximum on day one end up with dropped frames, a stuttering stream, and no idea why.
If you want to set things yourself, here’s a starting point that works on most mid-range machines. Stream at 1080p and 60 frames per second if your upload speed comfortably exceeds 10 megabits per second. Drop to 720p at 60 frames if it doesn’t. Set your video bitrate between 4500 and 6000 kilobits per second for 1080p, or around 3500 for 720p. Use hardware encoding if your graphics card supports it, because it takes the load off your processor and keeps your game running smoothly.
Then open your game and watch your frame rate. If the game stutters while you’re broadcasting but runs fine when you’re not, your encoder settings are too aggressive. Lower the resolution first, then the bitrate. Smooth gameplay matters more than a sharp picture, because viewers forgive soft video but they leave when the action freezes.
Audio Matters More Than Video
This is the part beginners underestimate, and it’s the single biggest difference between a stream that feels watchable and one that doesn’t. Viewers will tolerate a slightly blurry picture for hours. They will not tolerate echo, hum, or a microphone that sounds like it’s inside a tin can.
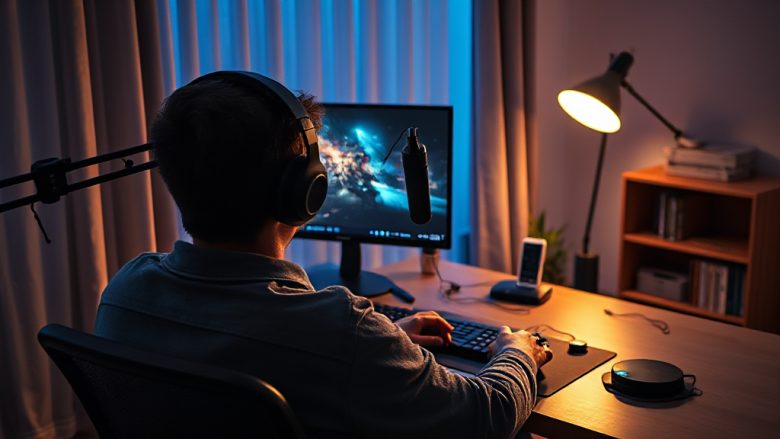
Start with whatever headset you already own. Most are perfectly fine. The problem is rarely the microphone itself; it’s the room. Hard floors, bare walls, and a desk positioned in the middle of an empty space create reverb that no software can fully remove. Move your microphone closer to your mouth, angle it slightly off-axis so you’re not breathing directly into it, and put something soft behind you. A bookshelf, a curtain, a folded blanket draped over a chair. Anything that breaks up sound reflections helps.
In your encoder’s audio settings, add a noise suppression filter and a noise gate. The gate mutes your microphone when you’re not speaking, which removes keyboard clatter and fan noise between sentences. Set the gate threshold while watching the level meter: speak normally, then stop, and adjust until the meter falls silent when you’re quiet but jumps back the moment you talk.
Then do the thing almost nobody does before their first stream. Record two minutes of yourself talking over gameplay and listen back with headphones. You’ll hear problems instantly that you’d never notice while wearing the headset live. Fix those, and your audio is already better than most channels with ten times your follower count.
Lighting and Camera Without Spending Much
If you’re not using a camera yet, skip this section entirely. Starting as a voice-only streamer is completely valid, and plenty of successful channels never show a face. Adding a camera later is a two-minute change.
If you do want to appear on screen, the rule is simple: light your face, not your background. A single desk lamp positioned behind your monitor, pointing at you, beats three expensive panels placed badly. Sit facing a window during daylight hours and you’ll get better results than most artificial setups. Just never sit with a bright window behind you, because your camera will expose for the window and turn you into a silhouette.
For the camera itself, any modern webcam at 1080p and 30 frames per second is enough to start. Position it at eye level, roughly an arm’s length away, and frame yourself from mid-chest up. Look at the lens when you’re addressing viewers, not at your own preview window. That one habit makes a stream feel personal instead of distant.
Your First Stream Checklist
Before you go public, run through this once. It takes five minutes and prevents the most common embarrassing mistakes.
Confirm your stream key is pasted correctly and your encoder shows a healthy connection. Check that your microphone is the correct input device, because computers love defaulting to the wrong one. Verify your game audio is coming through the stream and isn’t muted at the system level. Set your stream title and category so people browsing can actually find you. Choose a game you know well rather than something new, because you’ll be splitting your attention between playing and talking.
Then do a private test. Go live with the stream set to private or unlisted, play for ten minutes, and watch the recording afterward with the sound on. You’re checking three things: can people hear you clearly, can they hear the game, and does the video hold steady when the action gets busy. Fix whatever fails, then run one more short test.
When you finally go public, commit to a specific length. Ninety minutes is a good target for a first stream. Long enough to find a rhythm, short enough that you don’t exhaust yourself. Talk as if someone is watching even when the viewer count reads zero, because that habit carries over when people do show up. Narrate your decisions, react out loud, and avoid long silences. If nobody chats, that’s normal. Keep going anyway.
After the Stream: What Actually Moves You Forward
The stream ending is where the real work starts, and it’s usually twenty minutes of it. Watch your own recording, or at least skim it. Note where you went quiet for too long, where the audio peaked, and where the video stuttered. Write those down. They become your fix list for next time.
Check your platform’s dashboard for a few numbers: peak viewers, average viewers, and how long people stayed. Don’t obsess over them after one broadcast, because a single stream tells you almost nothing. What matters is the trend across ten streams. If average watch time is creeping up, you’re doing something right.
Then decide on a schedule you can genuinely keep. Two evenings a week at the same times beats five random broadcasts, because returning viewers need to know when to find you. Consistency is the only growth lever that works reliably for small channels, and it costs nothing but discipline.
Finally, resist the urge to buy equipment after your first stream. Upgrade only when a specific problem keeps appearing in your recordings. Bad audio? Better microphone. Dark face? A light. Stuttering game? A hardware encoder or a lower resolution. Let the problems tell you what to buy, not a gear list written by someone with a sponsorship.
Frequently Asked Questions
Do I need a powerful PC to start streaming games online?
No, but it depends on what you’re playing. Console streaming needs no PC at all. On desktop, a mid-range machine handles 720p or 1080p broadcasts fine if you use hardware encoding. The heavier your game, the more you’ll need to lower resolution or bitrate to keep things smooth.
How fast does my internet upload speed need to be?
Aim for at least 5 megabits per second of upload for 720p, and 10 or more for 1080p. That’s upload, not download, and they’re often very different numbers. Run a speed test before your first stream and leave some headroom, because other devices in the house compete for the same connection.
How long should I stream for when I’m just starting?
Sixty to ninety minutes is plenty for the first few broadcasts. You’re building stamina for talking while playing, which is genuinely tiring at first. Longer streams come naturally once the multitasking stops feeling like work.
What if nobody watches my first stream?
That’s the normal experience, not a failure. Almost every channel starts at zero. Treat your early streams as practice sessions where you refine audio, pacing, and commentary. The viewers arrive once the content is consistently good and they know when to expect you.